
 If you’ve been working with both AWS and Azure you should have noticed that each of them has some advantages.
Tools like Terraform might be very helpful if you’re not familiar with both CloudFormation and Azure RM.
However don’t consider Terraform as a nonpareil (this is not true at all), it is simple tool for simple tasks.
So in this post I’ll tell you about Terraform terms and concepts and show example with AWS & Azure.
For a bit more complicated infrastructure you’ll have to use CloudFormation and Azure RM
In very general, Terraform is orchestrator which allows you not to use APIs if you don’t want.
But what if you already have infrastructure to manage? Well, Terraform has ability to import resources, but it’s really poor at the time, so we’ll start from scratch in this example.
As an orchestrator Terraform supports lots of providers, f.e. AWS, Azure, GitHub and even MySQL.
If you’re using cloud provider you might want to create the most popular resource – virtual machines. As soon as VM is created you want it to do some tasks in your infrastructure, so you have to install and configure some software on it.
To achieve it we’ll use provisioners to run DSC tool, Ansible in my example.
And if you want to get rid of provisioners and providers you can use modules to get what you need very fast or you can even create your own module and distribute it over Terraform registry, GitHub or AWS S3.
Whatever way you’ll chose you will deal with state concept. To tell the long story short (as you have notices, Terraform has very good documentation), state is used to map your configuration entities (like “db_svr”) to real entities (like “i-07a4dbf12c50dae76”) and store metadata f.e. dependencies and time stamps.
If you’re working alone or if your team executes terraform from single machine (like Jenkins) storing states locally will be fine, but if you’re working with team you must consider centralised storage like Terraform Enterprise or AWS S3.
Terraform syntax is very easy when you’re using Terraform format and a bit more complicated using JSON.
Before start coding update your global gitignore with this records –
.terraform/ – in this dir plugins are stored, no need to put binaries to VCS
*.tfstate* – states putted to VCS can produce conflicts, so use Remote state
*.tfvars – this files will keep your secrets like API keys, passwords, connection strings, etc. and VCS is not a choice for that
Well, now it’s time to have a look at some real examples and we’ll start with AWS because they provide default network and you don’t have to create storage accounts.
Because we don’t want to maintain huge configs let’s create config for variables:
[pastacode lang=”markdown” user=”kagarlickij” repos=”terraform” path_id=”aws-vm/variables.tf” revision=”” highlight=”” lines=”” provider=”github”/]
We can have multiple providers, so let’s create dedicated config to describe them:
[pastacode lang=”markdown” user=”kagarlickij” repos=”terraform” path_id=”aws-vm/provider.tf” revision=”” highlight=”” lines=”” provider=”github”/]
Finally let’s create our main config which will create our instance:
[pastacode lang=”markup” user=”kagarlickij” repos=”terraform” path_id=”aws-vm/instance.tf” revision=”” highlight=”” lines=”” provider=”github”/]
As you can see, we’ll use Ansible to install required software, here’s super simple playbook for nginx installation:
[pastacode lang=”markdown” user=”kagarlickij” repos=”terraform” path_id=”aws-vm/install_nginx.yml” revision=”” highlight=”” lines=”” provider=”github”/]
For our learning we have to create one more resource (Elastic IP) and attach it to instance created above:
[pastacode lang=”markdown” user=”kagarlickij” repos=”terraform” path_id=”aws-vm/elastic_ip.tf” revision=”” highlight=”” lines=”” provider=”github”/]
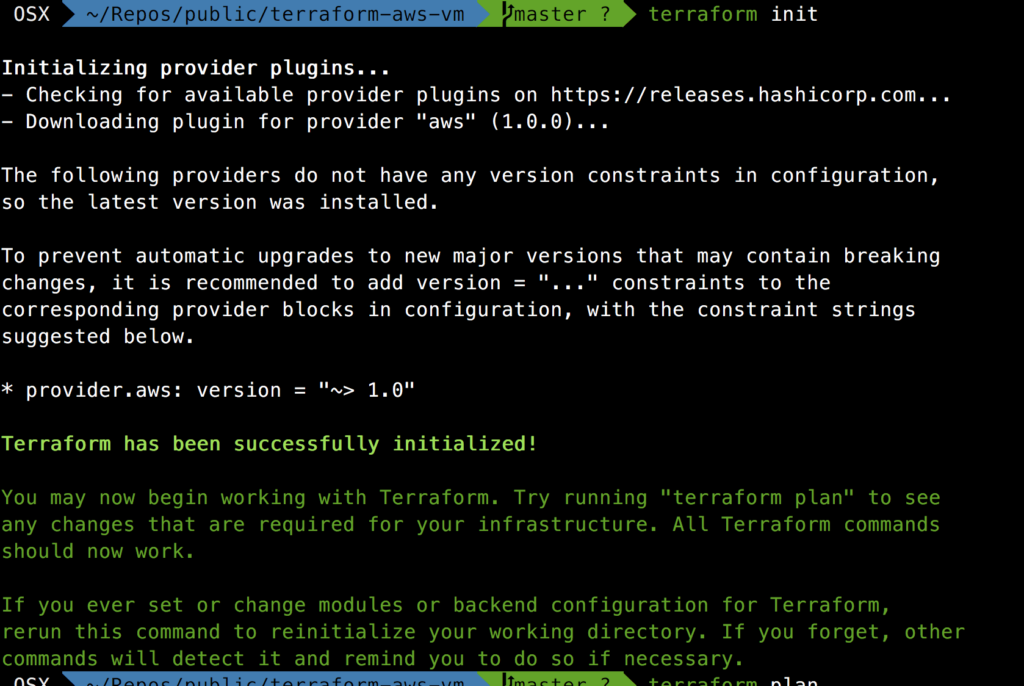
Ok, let’s install necessary stuff with terraform init command:
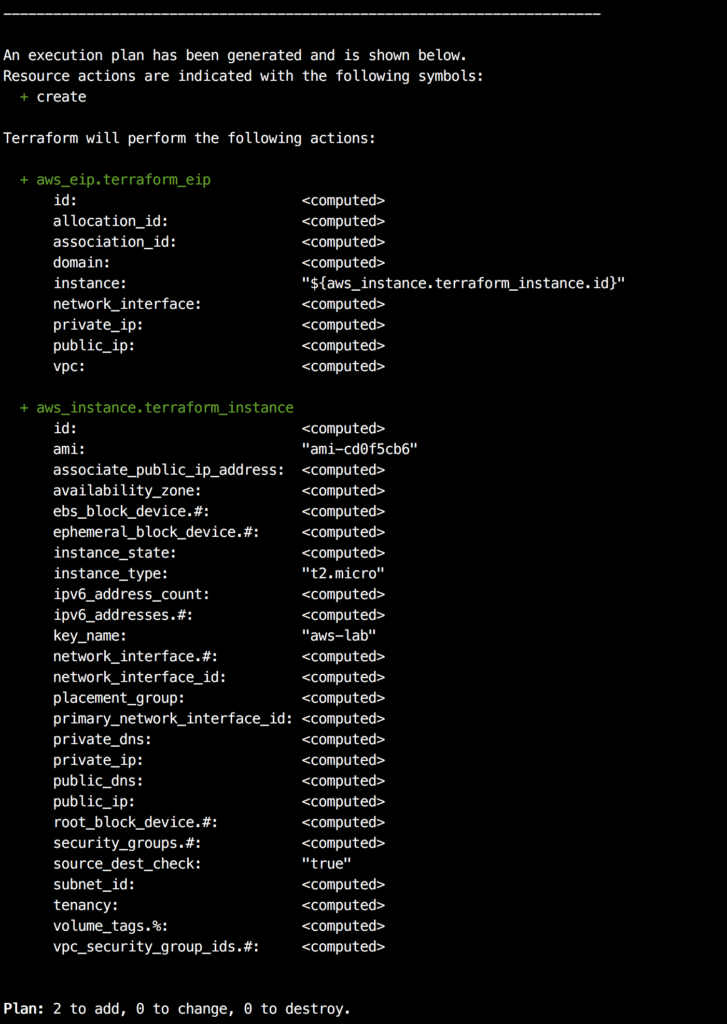
Before we start applying it, let’s check what will be done using terraform plan command:
Looks good, so execute terraform apply:
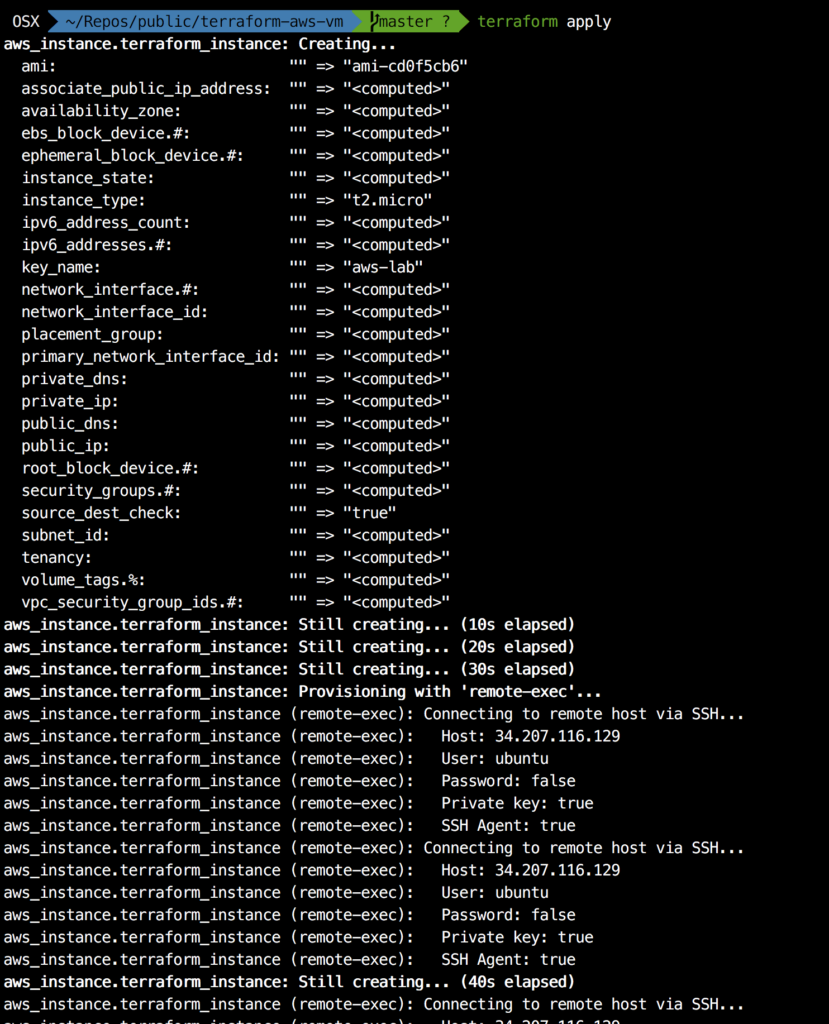
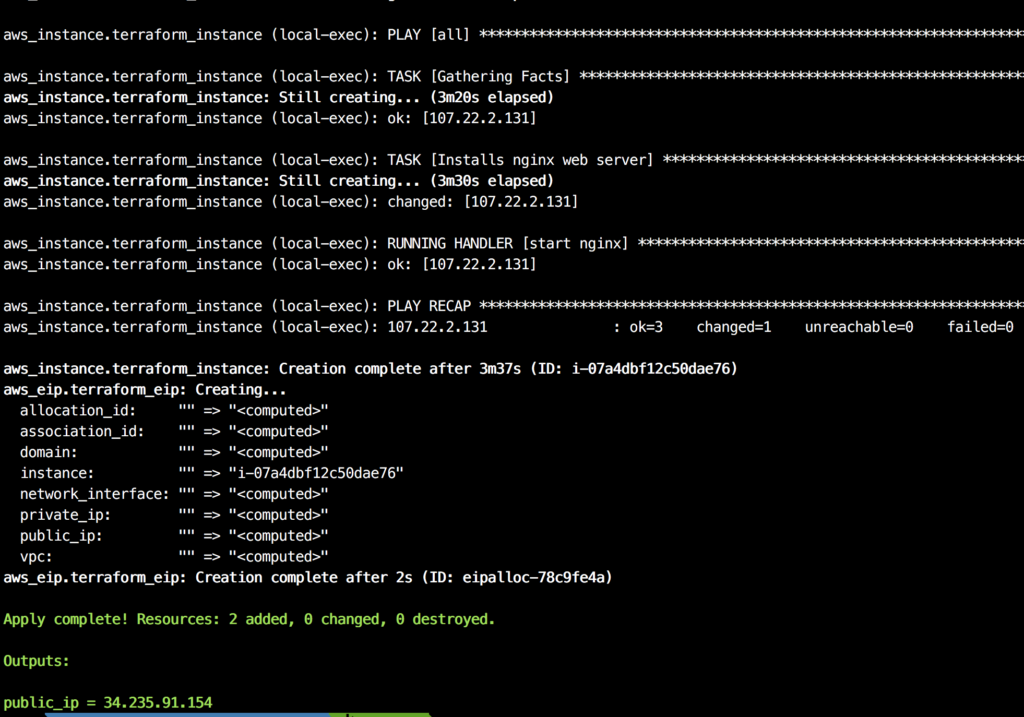
Does it looks better than CloudFormation or Azure RM output? As for me yes, much better =)
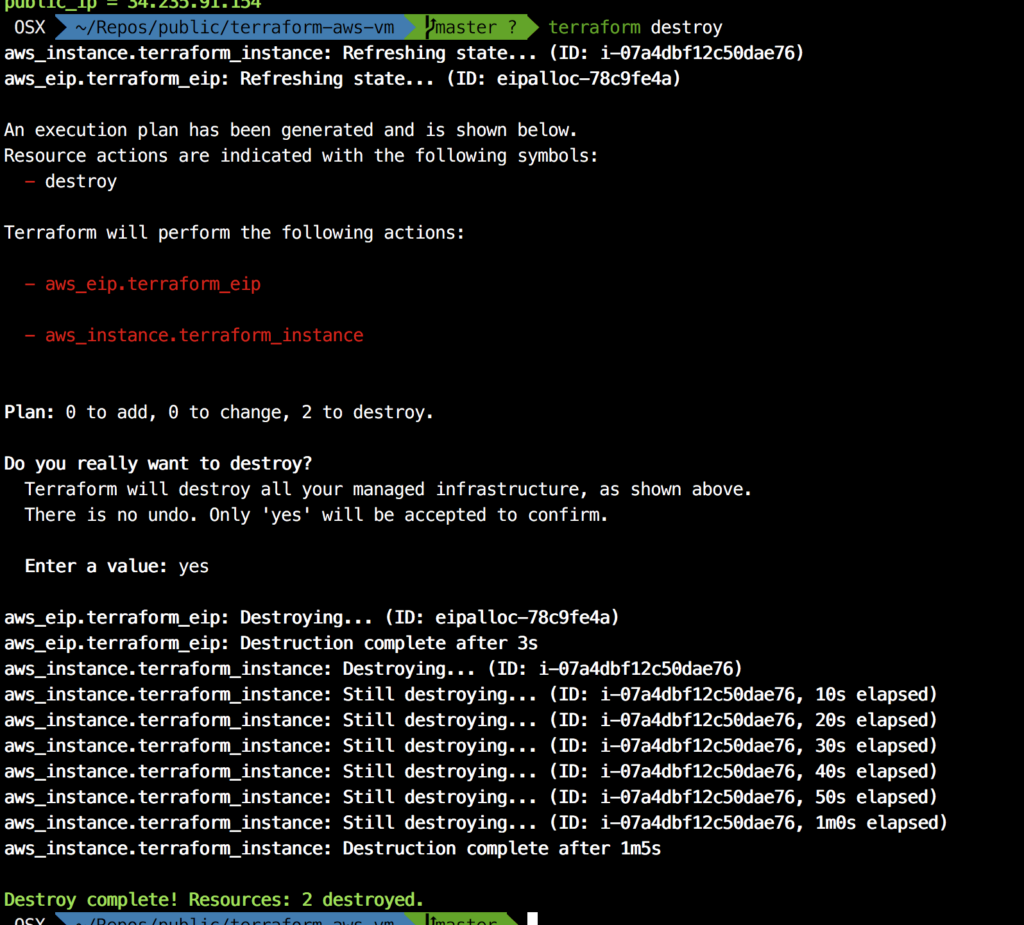
And you can destroy resources in the same simple and obvious way via terraform destroy (but don’t forget to type “yes” manually):
Now let’s have a look at Azure which is a bit more hard. First of all you have to get auth stuff (for AWS we used API keys).
Follow Terraform instruction or this script to get subscription_id , client_id , client_secret , tenant_id
Start with defining variables:
[pastacode lang=”markdown” user=”kagarlickij” repos=”terraform” path_id=”azure-vm/variables.tf” revision=”” highlight=”” lines=”” provider=”github”/]
Define provider:
[pastacode lang=”markdown” user=”kagarlickij” repos=”terraform” path_id=”azure-vm/provider.tf” revision=”” highlight=”” lines=”” provider=”github”/]
Create resource group:
[pastacode lang=”markdown” user=”kagarlickij” repos=”terraform” path_id=”azure-vm/resource_group.tf” revision=”” highlight=”” lines=”” provider=”github”/]
Create VNet and subnets:
[pastacode lang=”markdown” user=”kagarlickij” repos=”terraform” path_id=”azure-vm/vnet.tf” revision=”” highlight=”” lines=”” provider=”github”/]
For this example let’s create Network Security Group (we’ve skipped Security Groups for AWS because they’re too simple):
[pastacode lang=”markdown” user=”kagarlickij” repos=”terraform” path_id=”azure-vm/network_security_group.tf” revision=”” highlight=”” lines=”” provider=”github”/]
Now create Network Interface:
[pastacode lang=”markdown” user=”kagarlickij” repos=”terraform” path_id=”azure-vm/network_interface.tf” revision=”” highlight=”” lines=”” provider=”github”/]
Finally create Public IP:
[pastacode lang=”markdown” user=”kagarlickij” repos=”terraform” path_id=”azure-vm/public_ip.tf” revision=”” highlight=”” lines=”” provider=”github”/]
We’re done with network part, and I don’t want to use Managed disks in this demo, so let’s create Storage account and container:
[pastacode lang=”markdown” user=”kagarlickij” repos=”terraform” path_id=”azure-vm/storage_account.tf” revision=”” highlight=”” lines=”” provider=”github”/]
Looks like everything is done and it means that we can create VM (pay extra attention on SSH for Linux VM, it’s not as obvious as when using AWS):
[pastacode lang=”markdown” user=”kagarlickij” repos=”terraform” path_id=”azure-vm/virtual_machine.tf” revision=”” highlight=”” lines=”” provider=”github”/]
Ansible playbook is the same:
[pastacode lang=”markdown” user=”kagarlickij” repos=”terraform” path_id=”azure-vm/install_nginx.yml” revision=”” highlight=”” lines=”” provider=”github”/]
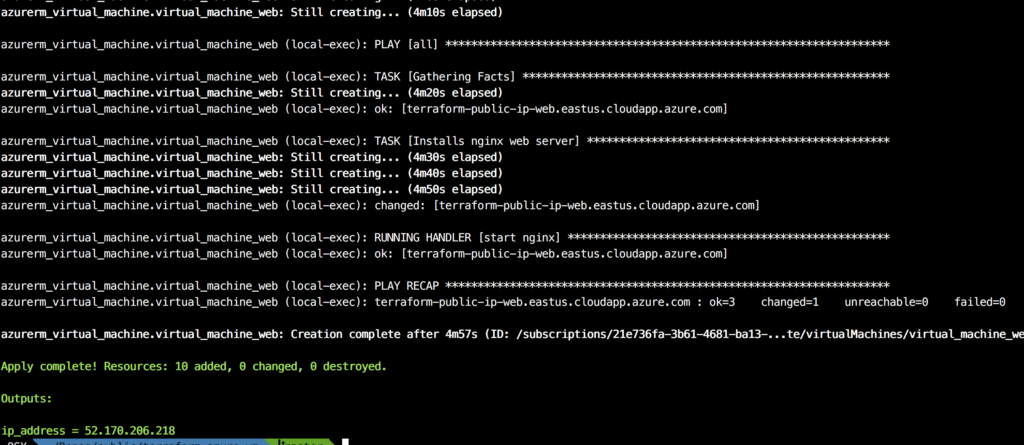
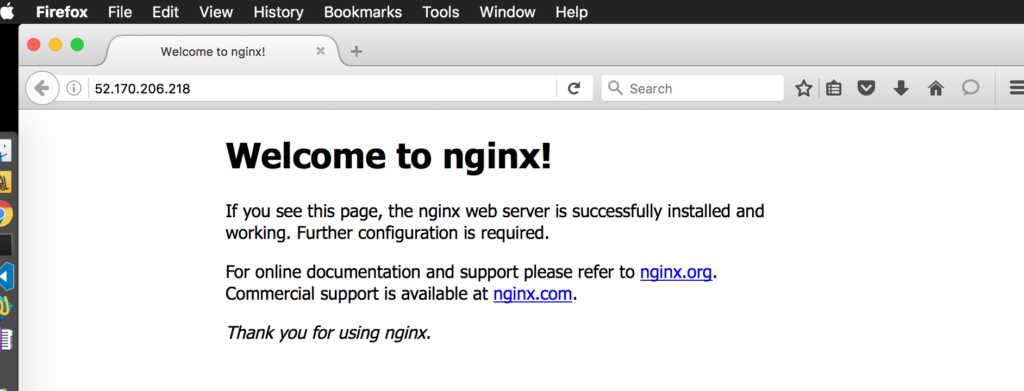
Init, Plan and Apply steps are the same so let’s have a look at results:

Now you’ve seen power of Terraform and it’s time to clone or fork my public repo and start using it in you lab or dev env!
I hope this info will be useful for you, and if you need any help feel free to use contact form on the main page.
.